
We keep being told that contouring has had its day, that the make-up world needs to move on to different techniques. But Instagram says otherwise - the hugely popular social media channel is brimming with flawlessly contoured faces and tips on creating the perfect sculpted look.
So we sat down with Benefit's head make-up artist Lisa Potter-Dixon to get the lowdown on the make-up trend, to find out why it's bigger than ever and get her top tips on exactly how to perfect the look...
Contouring is still so popular...
It's actually something us make-up artists have been doing for decades to add structure to the face, but it became hugely popular in the public domain thanks to the Kardashians. People love it because it changes the shape of your face and enhances the areas you want to enhance. Who doesn't want razor-sharp cheekbones and a defined jawline?!
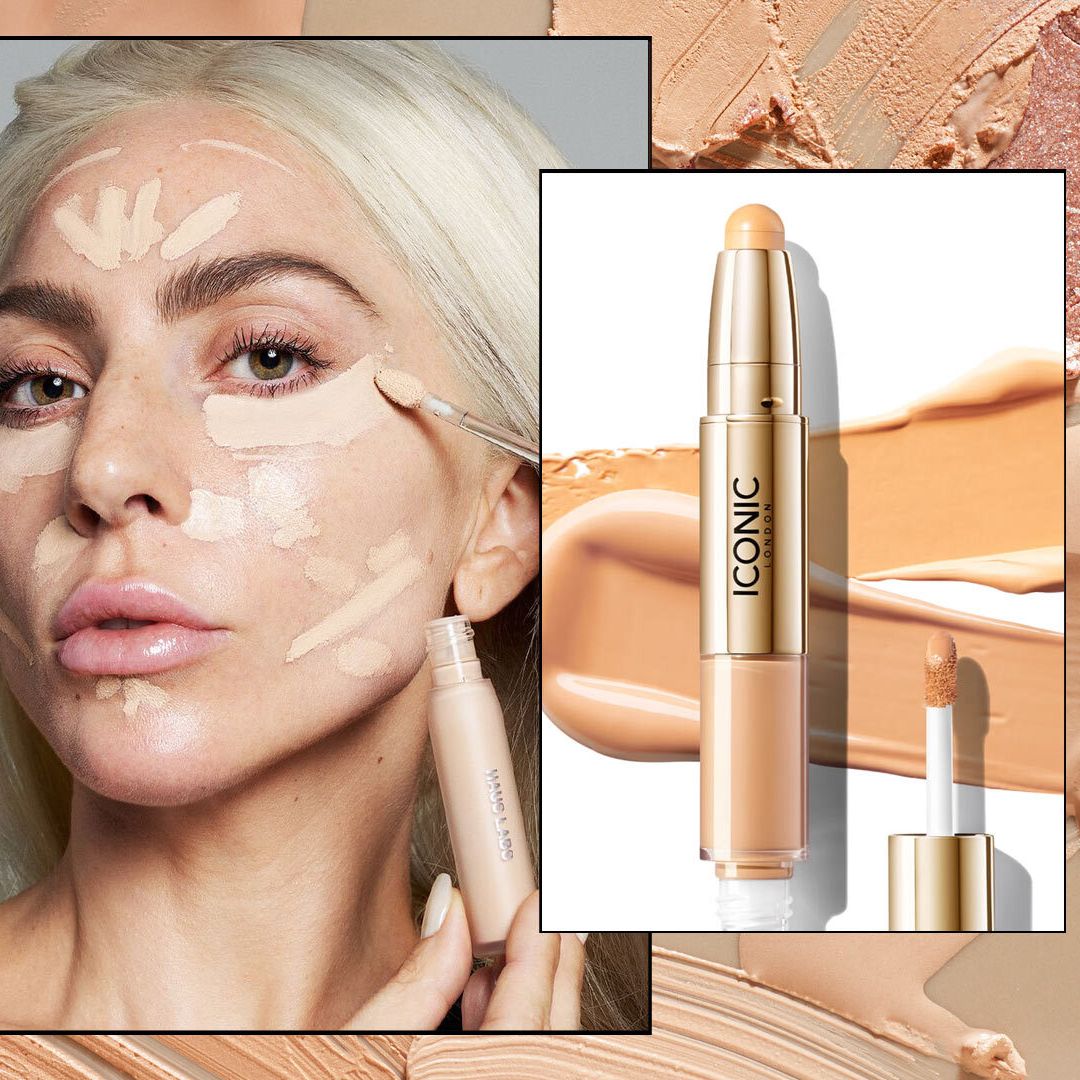
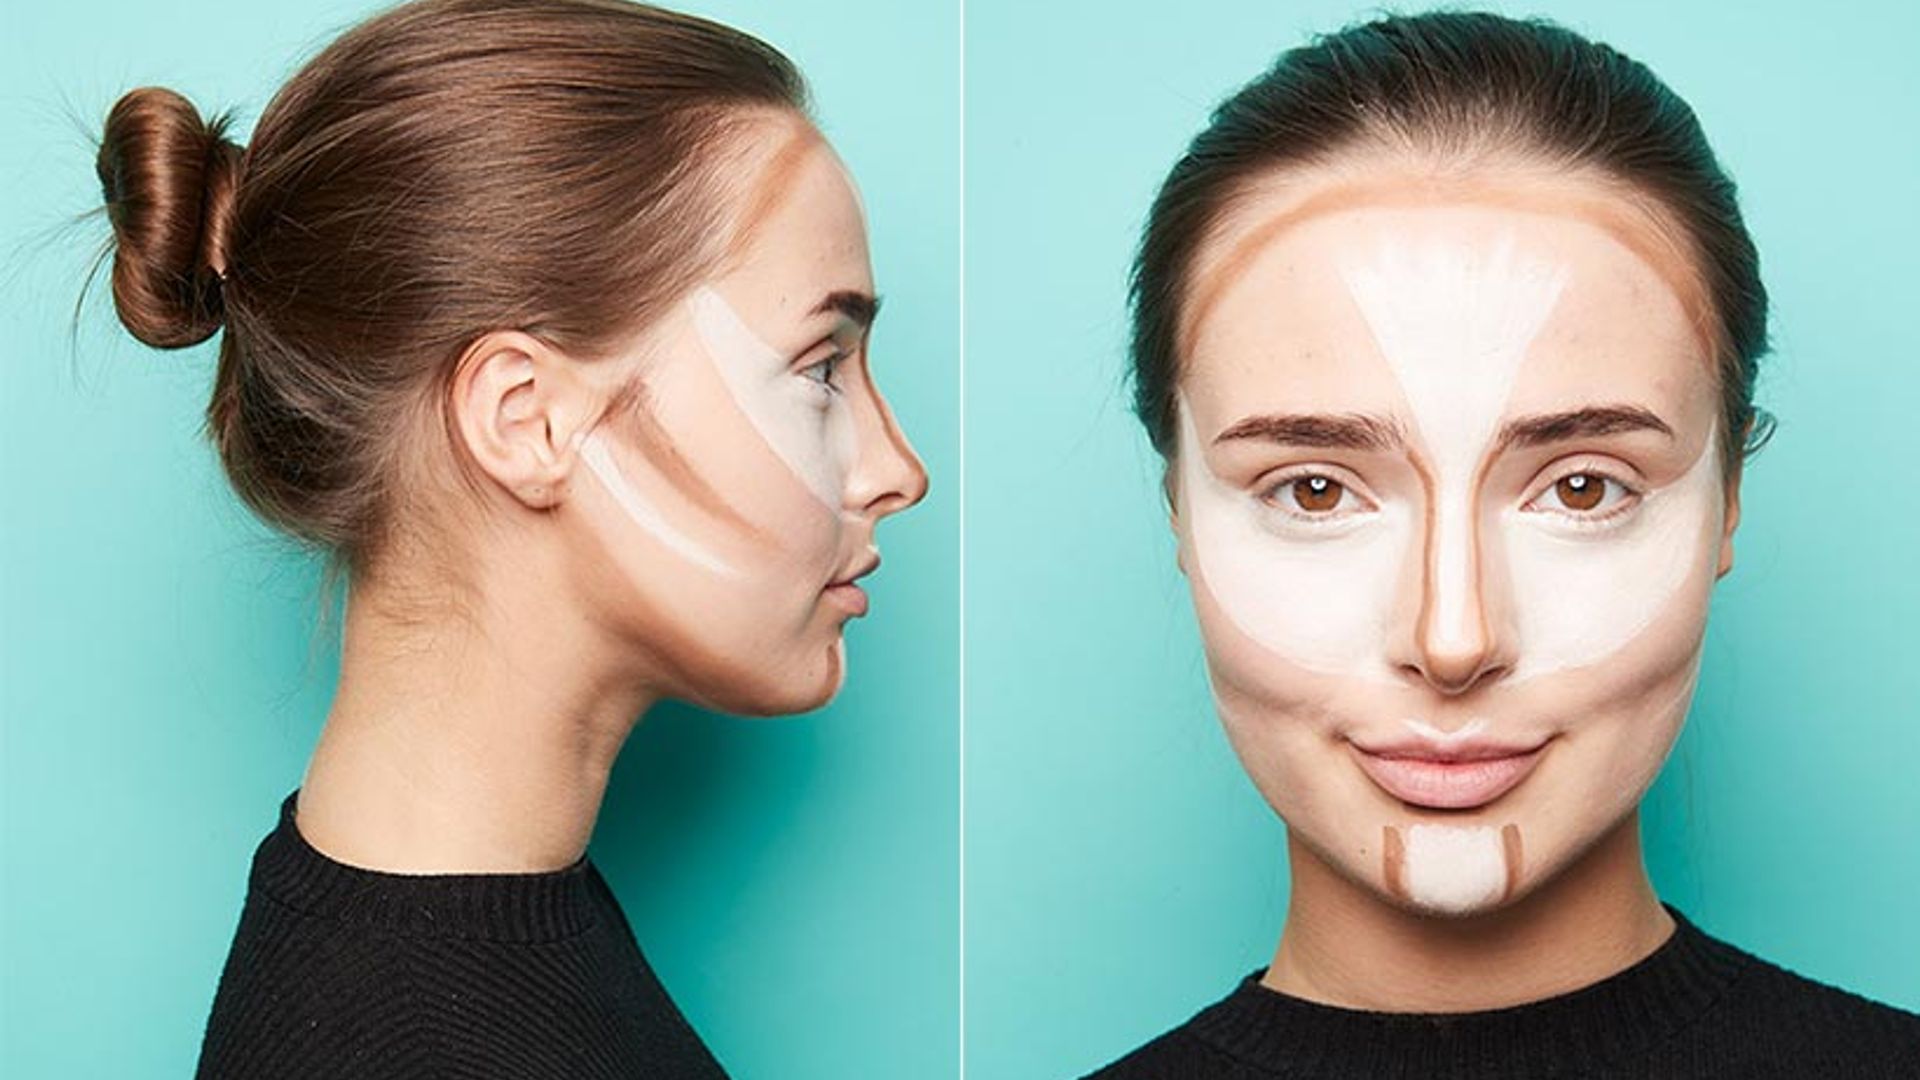
This picture is a guide to where the different contour products should be placed on the face
Products to create a flawless contour:
- cream bronzer or contour two shades darker than your skin tone (Benefit just released the Hoola Quickie Contour Stick, £23.50)
- cream foundation (one shade light than your skin tone)
- liquid foundation (one shade darker than your skin tone)
- loose translucent foundation powder
- matte powder bronzer
- powder highlighter (Benefit just released the Dandelion Twinkle, £24.50)
- powder blusher
- foundation brush
- fluffy eyeshadow brush
- fantail brush

These products are blended once applied to the correct areas of the face
How to Contour in 8 steps:
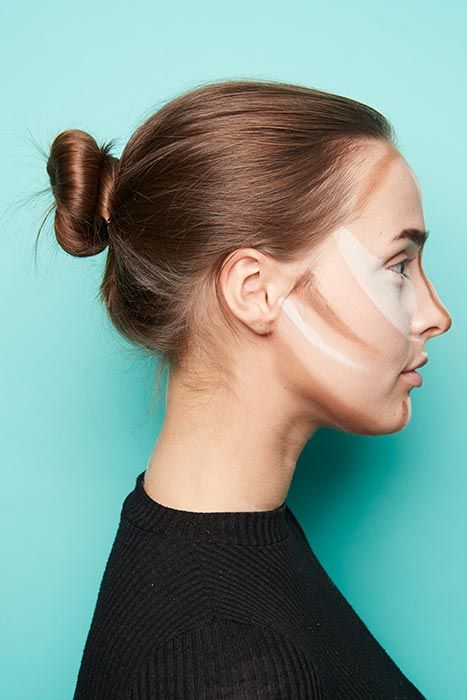
Step 1. Moisturise the skin and sweep the matte powder bronzer down your neck and across the collarbone.
Step 2. With the light cream foundation and using a foundation brush, highlight the centre of the forehead, the bridge of the nose, the chin, under the eyes and under the cheekbones.
Step 3. With the cream bronzer and using a fluffy eyeshadow brush, contour under the cheekbones, jaw line, hair line, temples, down the sides of the nose and in the eye sockets.
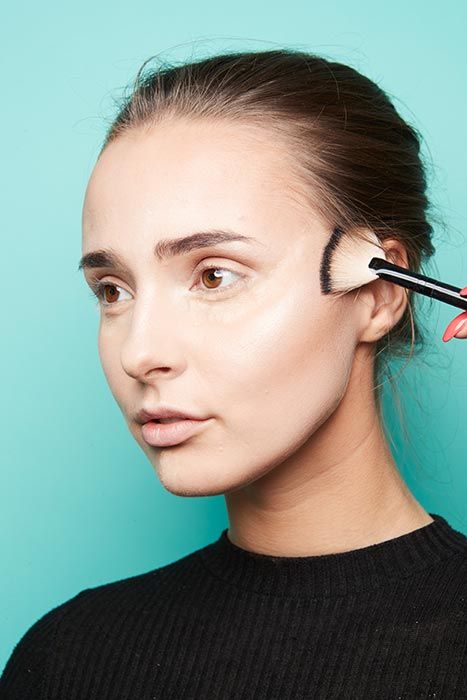
Step 4. With the liquid foundation and a fluffy blusher brush, blend the foundation over the top of everything. Blend in the direction that you applied the contour and highlight so that you don’t lose the definition that you’ve created.
Step 5. Set under the eyes and the chin with loose powder using a fluffy eyeshadow brush. Leave it in place while you complete the next step
Step 6. With a matte powder bronzer and using a fluffy eyeshadow brush, contour under the cheekbones, jaw line, temples and eye socket.
A touch of highlight to finish - of course!
Step 7. Apply powder highlighter using a fantail brush under the brow bone, on top of the cheek bones and on the cupid’s bow.
Step 8. Sweep away the loose powder under the eye, add a pop of blusher and finish the rest of your make-up.
There are lots more make-up tips and trick in Lisa's new book, The Make-up Manual, £14.99.
See the must-have festival make-up collection from TOPSHOP Beauty...