
If you're new to DIY, it can be daunting. All that talk of painter's tape and jigsaws may be enough to put you off, but with expert advice, everyone can tackle at least some home projects. And with the new year comes the chance to start afresh and tackle your DIY list from the get-go.
DIY extraordinaire and interiors writer Claire Douglas is on hand to talk through the biggest mistakes that newbie DIY-ers make, so that you don't make them! Her unmissable tips and tricks are here, keep scrolling to read…
1. Buying a huge selection of tools
Tools and decorating materials can be expensive and are often used for specific jobs, so don't buy anything until you know exactly which decorating tasks you plan to tackle. Even then, you don't need to spend a fortune. To keep costs down and save on storage space, I recommend occasional DIYers share the larger or more expensive tools, like a drill or electric saw, for example, with friends and family. Also, Amazon does some great deals and I've bought many of my tools from there.
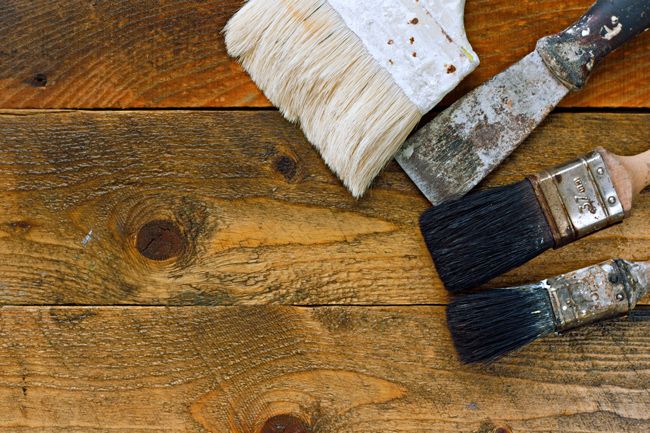
2. Buying cheap paintbrushes
There are many things I'd encourage you to cut costs on, but brushes aren't one of them. The problem with cheap, poor-quality paintbrushes is their bristles fall out and stick to the paint as you apply it to a surface. The other issue is the quality of the finish will be lower with a cheap brush, making visible brush strokes more likely and it'll be much harder to cut in seamlessly. You don’t have to buy the most expensive brushes on the market, but investing in quality will pay off as they'll last ages if you take good care of them.
3. Forgetting to test paint colours in different lights
Choosing the perfect paint colour can be a bit of a minefield hence why it's a common decorating mistake. Many people will have experienced the sinking feeling you get when you start applying your beautiful new hue to the wall or ceiling and, disaster… you hate it! The problem is that paint colours look completely different under different lights. So, firstly always get a tester, and paint on paper or card that you can move around your room, observing how it looks in different lights. Also, remember to check what it looks like under your artificial lights and not just daylight.
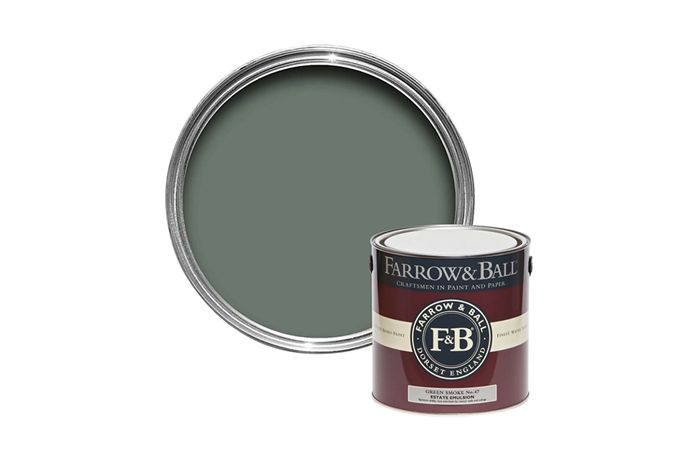
4. Buying bargain paint
It may seem like a good deal at the time, but five coats later, you realise it was a big mistake as it’s patchy and offers terrible coverage. You don't have to buy the premium brands, but there are certain qualities you should look out for when buying paint. I recommend opting for a water-based, super-low-VOC product for walls and ceilings. VOCs (Volatile Organic Compounds) are harmful to health if breathed in and are best to avoid if possible. Some paints will actually improve the quality of the air, like Bauwerk Colour limewash and Graphenstone eco paints which both take carbon dioxide from the air as they cure.
5. Failing to prepare properly
When you are decorating, the secret to a superior finish is to spend sufficient time on your prep. For walls, this might mean filling any gaps, cracks or dents and sanding rough areas or visible paintbrush strokes or roller marks before moving on to painting. For wooden surfaces like skirting, furniture or architrave, the prep might involve sanding away layers of years-old paint or repairing any dents or chips before refinishing.
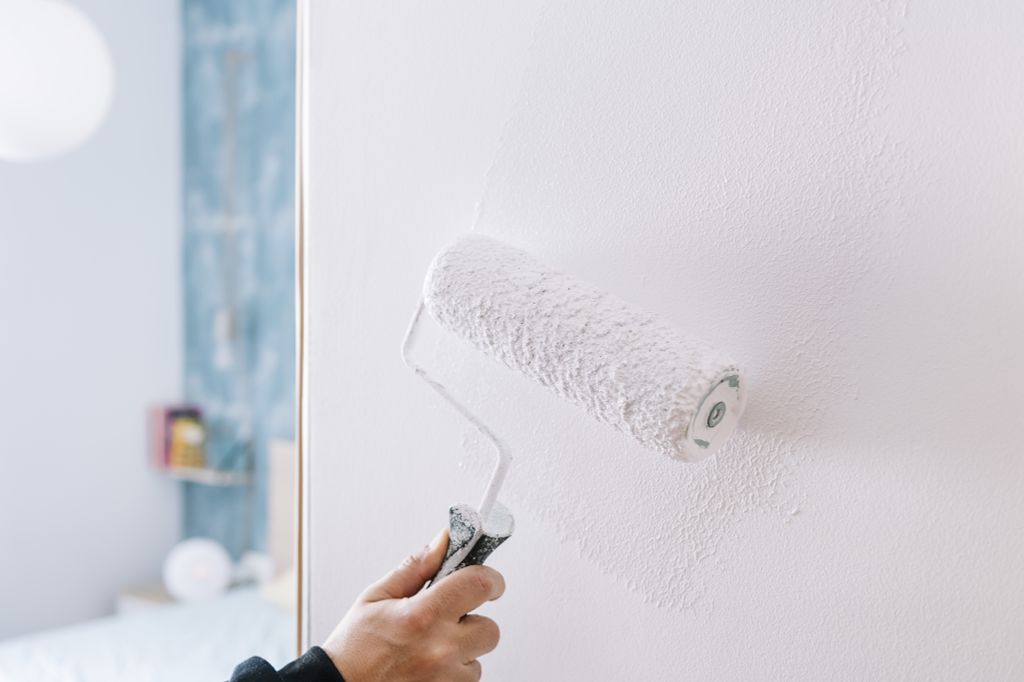
6. Rushing the second coat
Painting is a brilliant way to breathe new life into tired or dated furniture or kitchen cabinets/ It’s a simple and cost-effective DIY solution that can achieve brilliant results. The key to success is leaving enough time in between coats of paint to ensure the paint cures properly. I also recommend gently sanding any brushstrokes or imperfections with high-grit sandpaper (at least 180) before applying the next coat.
7. Drilling in the wrong place
A stud finder is a simple and cost-effective device that tests the material behind a solid surface and allows the user to identify the location of pipes, electrical wiring, and wooden studs if any are present before they start to drill. I highly recommend buying one if you ever plan to drill into a wall or ceiling as they could literally be a lifesaver.
8. Forgetting to de-fluff your rollers
This is a super simple step where you remove any loose fibres from a new microfibre roller head. This process prevents bits of fluff from getting stuck in the paint and on the surface you are painting. A simple hack to remove the fluff is to wrap masking tape around the roller head and then remove it. All the fluff sticks to the tape and you’re ready to paint.
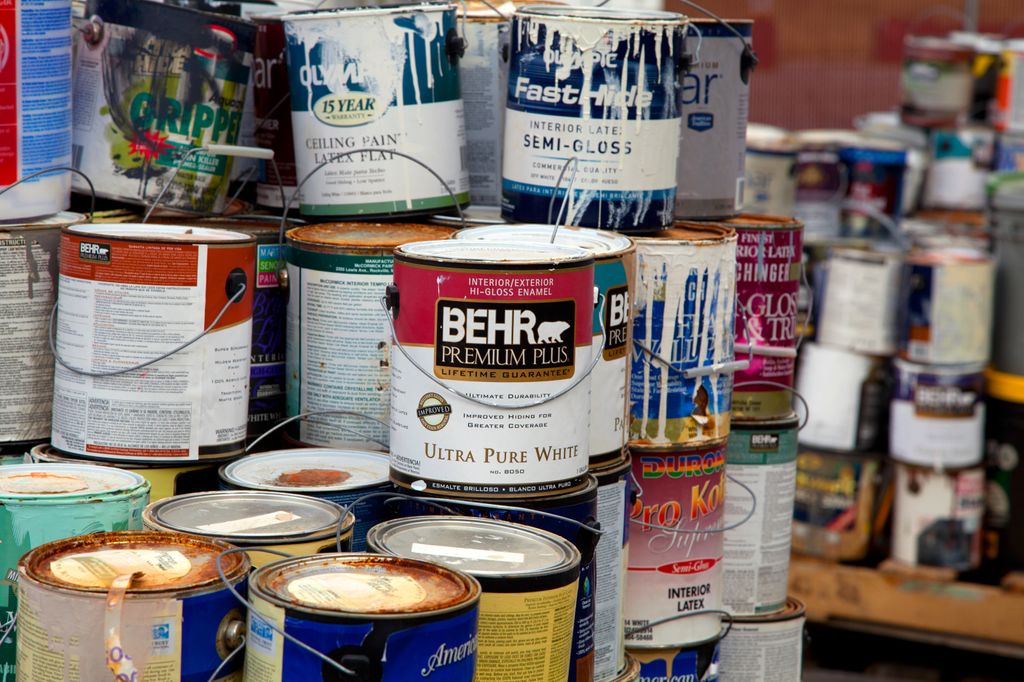
9. Not storing paint correctly
Many people store tins of leftover paint in their sheds or garages, exposing them to sub-zero temperatures at certain times of the year. Storing paint in the cold can cause it to freeze, which can ruin it. I recommend decanting leftover paint into glass jars. I use the type of jars that instant coffee or pasta sauce comes in after giving them a good clean.
The advantage of storing paint in jars is that you won’t get rust and flaky bits around the rim as with a tin. Another advantage is that you can easily see the shade of the paint through the glass and can write on the side with a sharpie the date you bought it, the name of the paint shade and where you painted it - super handy for when you need to do touch-ups.
10. Using a sander without dust extraction
Sanding is a brilliant tool in a DIY armoury and can help achieve professional results, but it’s a dusty business and requires some planning. Ideally, all sanding should be completed outside or in a well-ventilated area and wearing a dust mask is a good idea. If you have to sand indoors, extra precautions should be taken; otherwise, you’ll be wiping up dust for weeks. Electric sanders usually have dust collectors or a hose-like connector that attach to a vacuum cleaner, these help reduce dust levels a lot.
11. Disturbing untested Artex
Over the years, I have perfected a low-budget DIY method of skimming over Artex, restoring smooth ceilings for a more modern look. However, as it was only made fully illegal in around 2000, Artex in older houses is likely to contain asbestos, which in dust form can pose serious health risks. Therefore, you should never disturb (drill, sand or scrape) Artex unless you have received a negative test result for the presence of asbestos.
PROFESSIONAL: 9 expert tips to fast-track your way to a zen bedroom
As well as her blog Claire has started a DIY & home styling on a budget course to help people save time, money and stress by sharing her wisdom.