Ask most people what their desert island makeup product would be, and you're almost guaranteed to elicit the same few responses.
Mascara is right up there, especially among the fair-haired, as is concealer – hard to argue with, everyone looks better with a little concealer. I'd personally dart for my beloved cream blush, the quickest way to feign health and appear more awake.
But lip liner? Not so much. Less must-have, more must-give-it-a-go-if-I-can-locate-my-sharpener, for many, the product – despite being a kit staple for heaps of makeup artists – slides into added extra territory.
What is the purpose of lip liner?
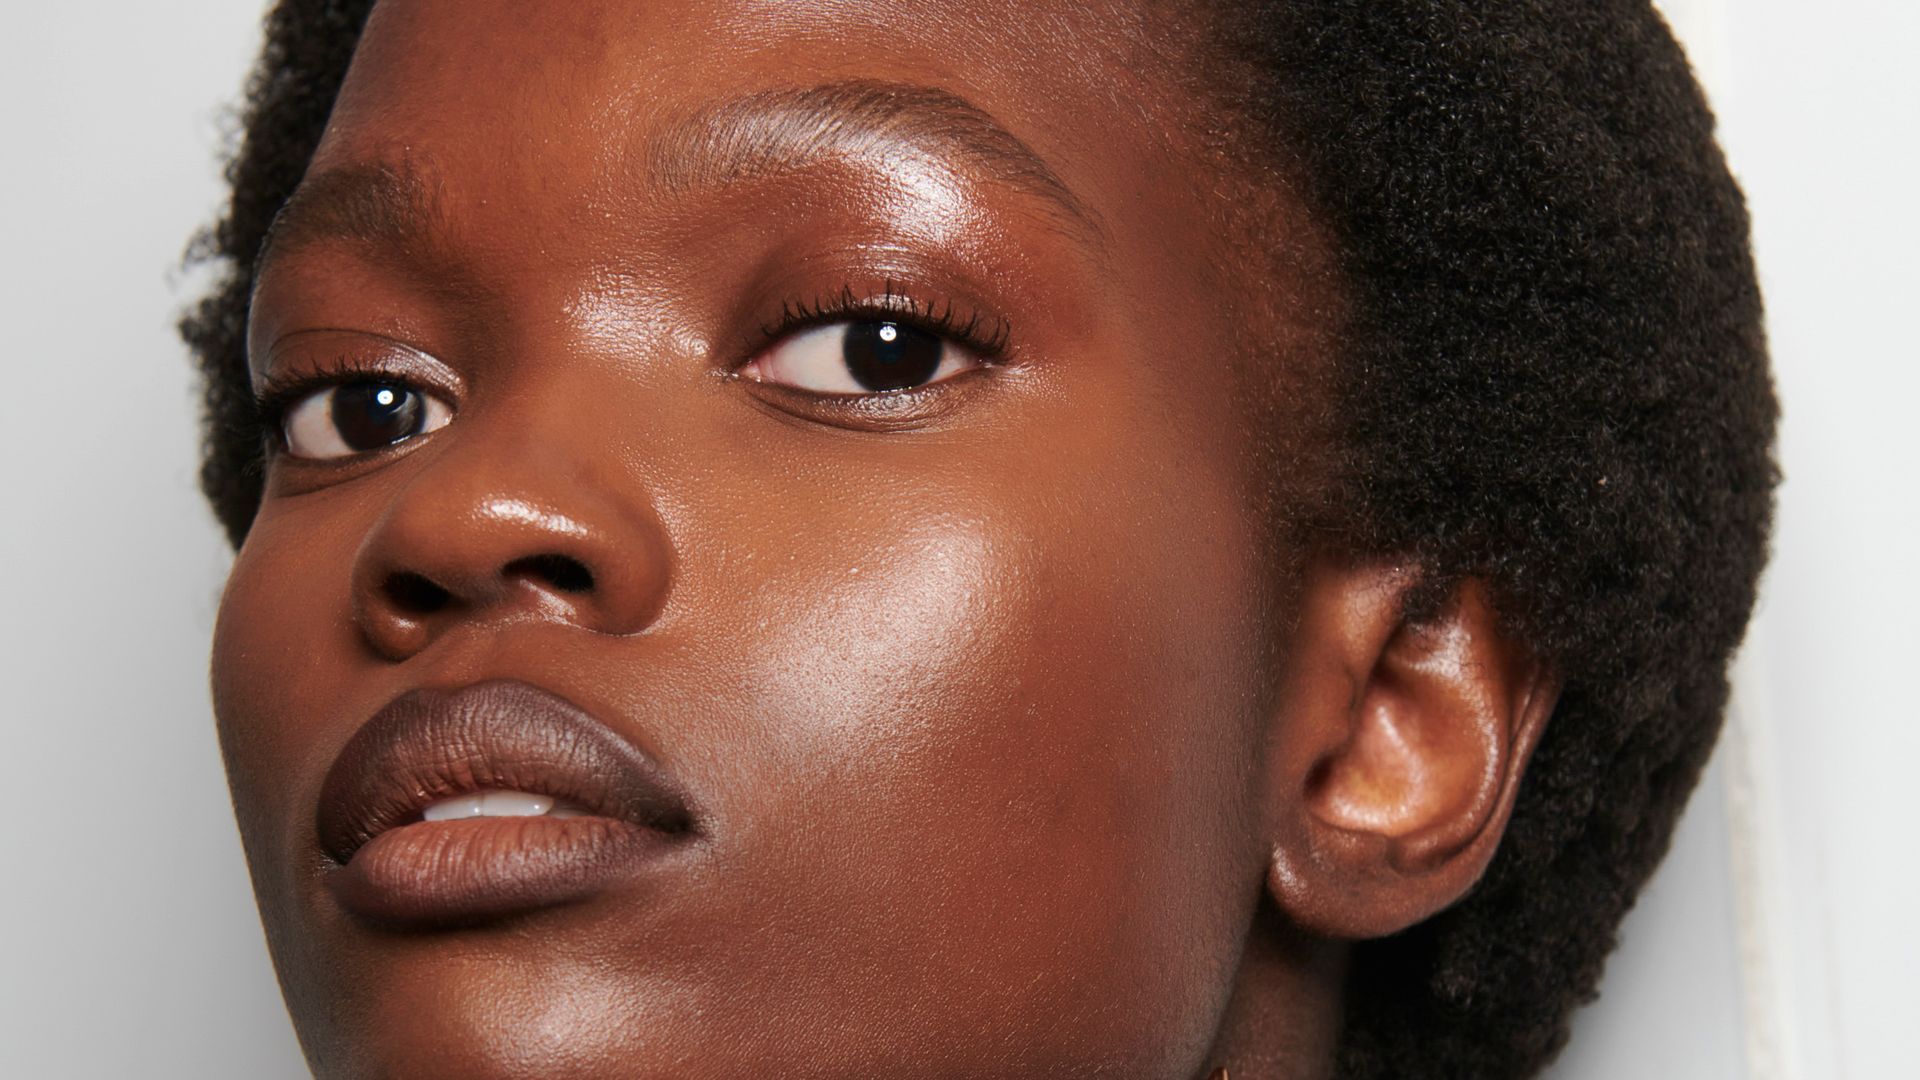
 © Launchmetrics Spotlight
Granted, it's not crucial, but when applied correctly it can seriously make the world of difference. The main job of a liner is to act as a physical barrier between the skin and your lips, preventing your lipstick from bleeding and keeping everything looking neat – especially handy if you're wearing a statement shade.
However, it can also be used to enhance the natural silhouette of your lips and create the illusion of a fuller, more voluminous pout. If you have uneven or naturally thin lips and are looking to balance out the shape or build volume, lip liner is an indispensable tool, capable of helping you achieve your dream pout.
How to apply it like a pro
Step 1 – Prime Time
All the leading artists are vocal about the importance of a well-primed lip, and for good reason. Gentle exfoliation sloughs away dead skin cells, leaving behind a super smooth base.
"Use a lip scrub to lift away any dry, flaky skin," Dominic Skinner, Director of Makeup Artistry at Mac, previously told Hello! Fashion.
Applying a lip balm at the same time as your skincare is a great tip, as this floods your skin with moisture and helps to create that perfect canvas. If there is any residue left by the time you get onto your lips, blot it away and go in with a lip primer before any colour – essential if you want to maximise your look's staying power.
If you're solely wanting to stop your statement lipstick from bleeding, go for a colour that is as close to your main shade as possible. The key is to pick a lip liner that shares the same undertones as your lipstick for a truly seamless transition.
But if volume is your aim, the experts often recommend opting for a colour one or two shades deeper than your natural tone.
Step 3 – Get In Line
Sharpen your product, dulling it only slightly on the back of your hand afterward as a super pointy tip can appear quite harsh, especially if you're a lip liner novice.
Kardashian-approved makeup artist Mario Dedivanovic suggests slightly over-lining the cupid's bow and beneath the centre of the lower lips. His viral hack involves following the natural lip line in all other areas, bringing it inside towards the outer corners to avoid a droopy effect and keep things lifted.
Royal beauty maven Hannah Martin recommends using "short strokes back and forth while keeping the pencil in contact with the lips", as opposed to long sweeping lines, for your best shot at total precision.
Step 4 – Dial Up The Drama
The next task at hand is applying the lipstick. For added dimension, consider a subtle gradient effect. French mononymous makeup artist and brand founder Violette says: "I apply one layer of lipstick over the whole lip and then on the corners I apply three or four. To finish, I take my finger or a brush and blend it so it fades into the centre, so the centre is lighter, to create more volume."
But don't overdo it in the gloss department – this can actually draw attention to the natural edge. It's great for a dramatic sheen, but central placement is key. "Gloss that goes over the natural lip line can highlight the ridge in the lip, making your lips look over-drawn," according to Dominic.
How to make your lip liner last longer
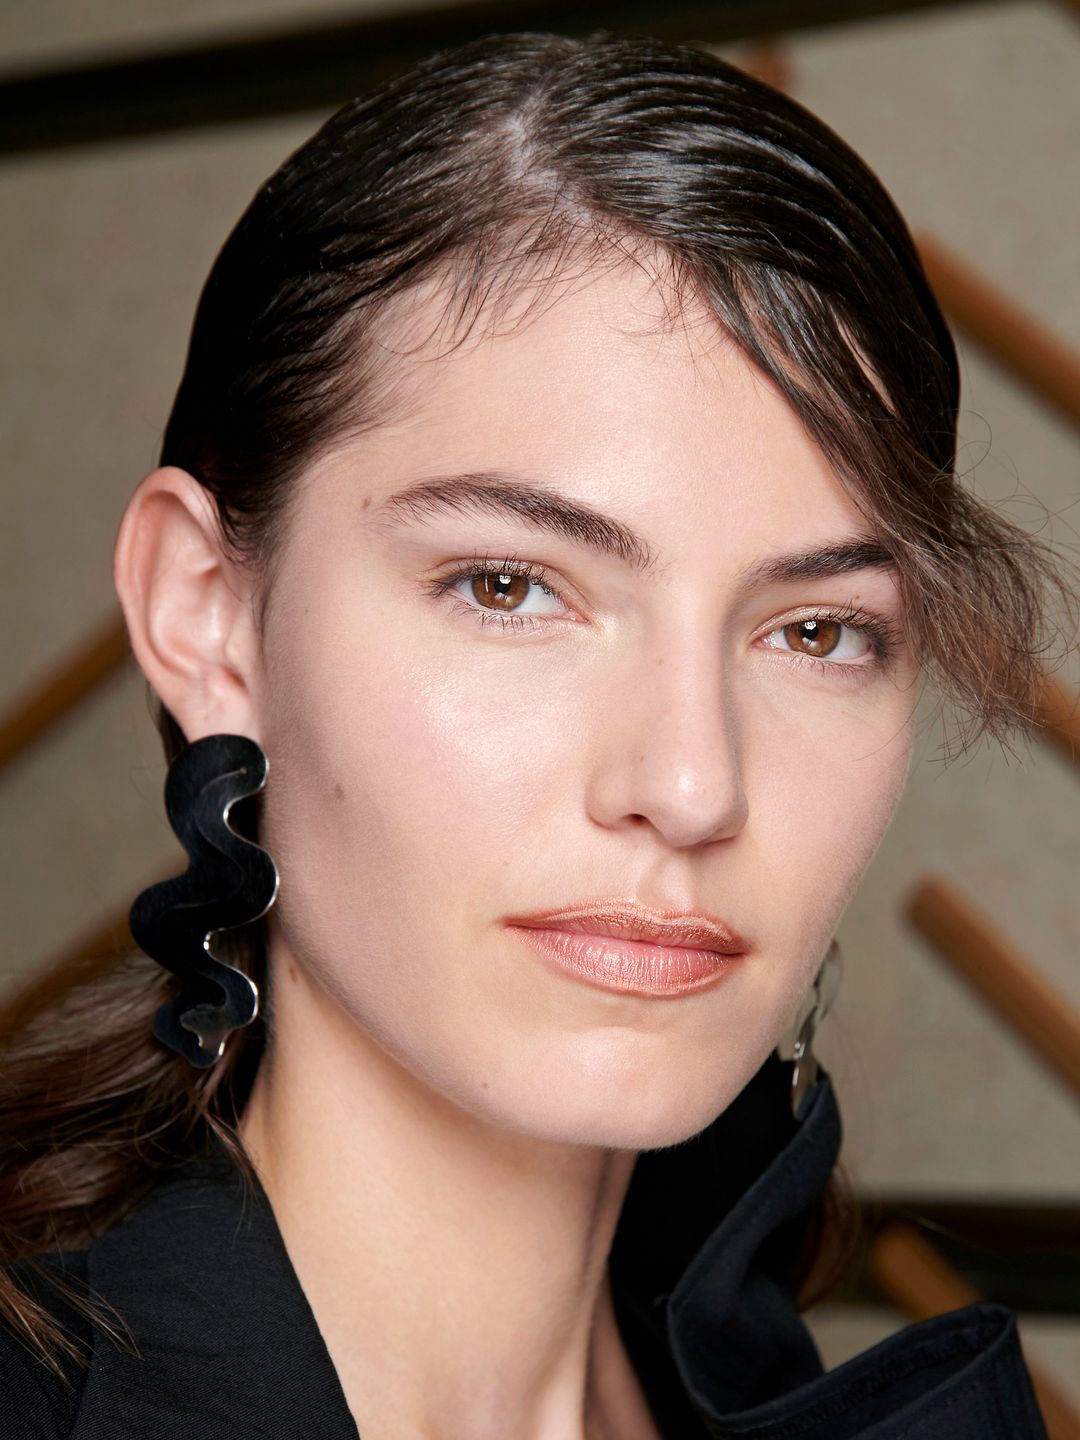
 © Launchmetrics Spotlight
A pout that stays put is the aim, and for maximum longevity, go for waxy formulas.
One of Hannah's genius tips is to shade the entire lip with a pencil first then layer lipstick over the top. That way, if the colour fades slightly over the course of the day, you still have the comfort of the pencil underneath.
If you have oily skin and find that your makeup has a tendency to drift, Mario recommends introducing a gentle dusting of powder into the mix, "using a puff to lightly press a little translucent powder over the liner, especially along the bottom lip line, to prevent feathering and bleeding".


