Decorating a property can be rather expensive (trust me), but at our home, we've managed to save money by tackling DIY projects. When it came to our bedroom, I knew I wanted it to be a calming, hotel-esque space but I didn't want to pay through the roof. The solution was getting stuck into a bit of hard work and after it was complete, I worked out that we've saved a staggering £5,267. Here's how…
You may also like
Wardrobes - £4,000 saving
You may have already seen my IKEA Pax hack wardrobes. This was a huge saving for us as bespoke carpentry can really add up and what would have cost £4,800 only came to £800 in total. So, we bought the carcasses from IKEA and then did the rest ourselves.
As well as making our own doors, we had to make a pelmet and skirting for the top and bottom and even use plasterboard to make a small false wall down one side to fill in a gap. I will admit, the doors required a lot of patience and there were a few weekends of stress. However, plasterboarding a faux wall was a LOT easier than I thought it would be. If you're willing to give it a go, you will save big.
Painting - £450 saving
Now, this is a DIY project that everyone can tackle. Yes, you won't be great at cutting in around the ceiling at first, and your arm will ache when you roller a whole wall, but as long as you put in the hours, you can totally paint a room yourself to save on funds. According to Checkatrade, a painter/decorator would charge £450 to paint a medium-sized room. I'm so glad we rolled up our sleeves and got to work.
Skirting - £30 saving
For this room, we didn't remove the skirting, I just repainted it. Smart Spender estimates around a £30 charge for a room of our size, but to be honest it could work out even more than that if you hire a tradesperson with a minimum fee.
Shelves - £350 saving
Our bedroom has a small-but-tall cupboard in it, so I wanted to transform it with shelves to maximise the space. Making your own shelves may sound like a daunting task but I promise you, it's easier than you think. You simply cut wooden batons, attach them to the wall and use them to rest your shelves on. The hardest part is making sure everything is level before you add your wooden shelves. Supplying and fitting six shelves is estimated to cost £390, so the £40 I spent on wood seems like a bargain!
Ceiling - £180 saving
I must admit that painting a ceiling is one of my least favourite DIY jobs. It's pretty exhausting for the arms to paint above your head but when you discover that painting a ceiling in an average-sized room can set you back £180 for a professional to do it, you just might be tempted. Skip your sculpt class at the gym and tackle your ceiling instead. My top tip: buy a pack of kids' paint brushes and use the tiny ones for any touch-ups where the ceiling meets the wall.
Chest of drawers - £122 saving
During the renovation process, I inherited a few special items from my late nan but one of the more basic pieces I acquired from her house was an MDF chest of drawers – the kind you'd likely find somewhere like Argos or IKEA. I decided to transform it with a lick of paint to make it work for my bedroom, and I'm obsessed with the results.
I've had a look, and you can pick up a similar piece of furniture for £172 (Dusk sage chest of drawers). I did end up spending around £50 on paint, including a Zinsser primer (that you'll definitely need if painting shiny MDF) and a gold spray paint for the handles, but that's still a hefty saving. Plus, it also has sentimental value.
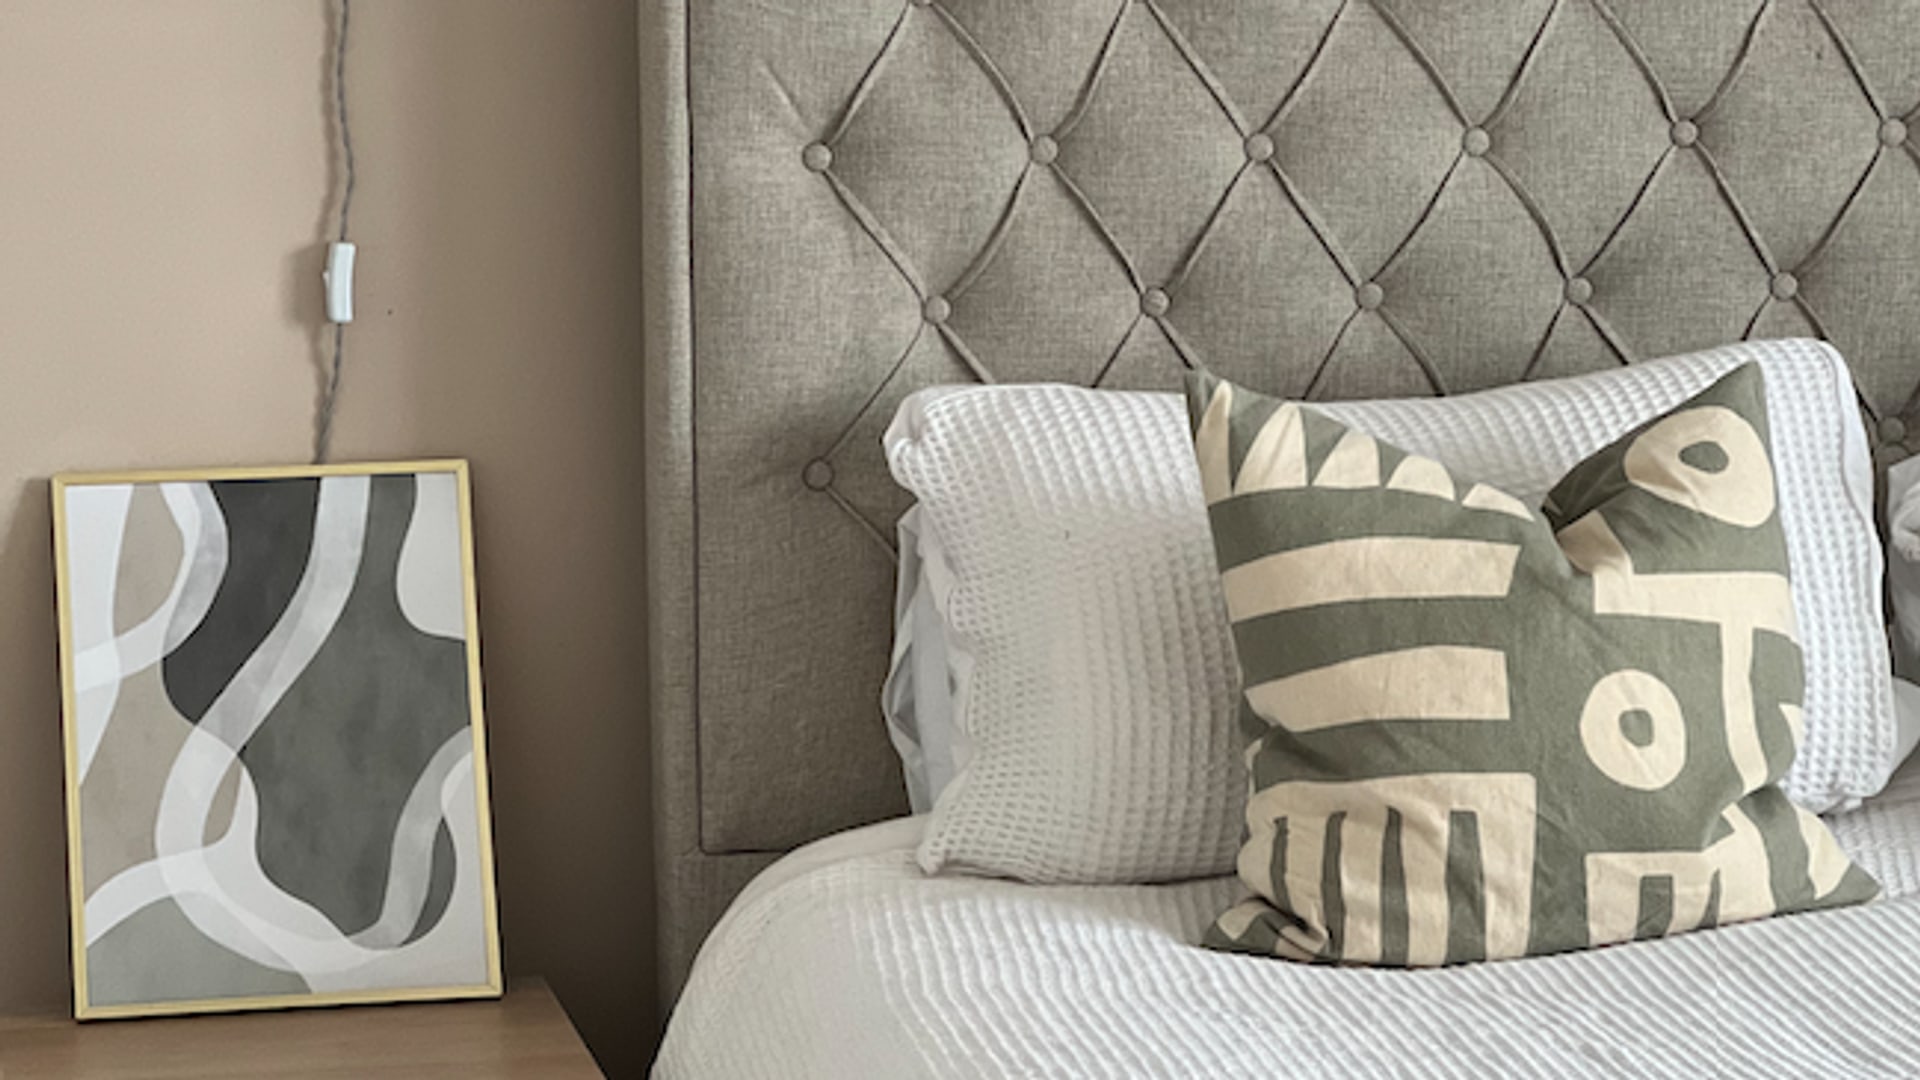
Other handiwork - £135 saving
The finishing touches of the room required me to attach my own mirror, curtain pole and bedside lights, and these kinds of jobs for a handyperson can top up to £135! Get yourself a basic drill, build up a toolbox of essentials like screws and rawl plugs and get to work. My top tip: the heavier the item, the longer and thicker the screws need to be to ensure your items will safely stay on the wall.